


As a tile maker, I make a lot of plaster molds.
This is especially true lately as I’ve been pouring, as opposed to pressing, tiles and palettes. Unlike regular clay, there are chemicals in the casting slip that break down the plaster. This means I need to make new molds fairly often.
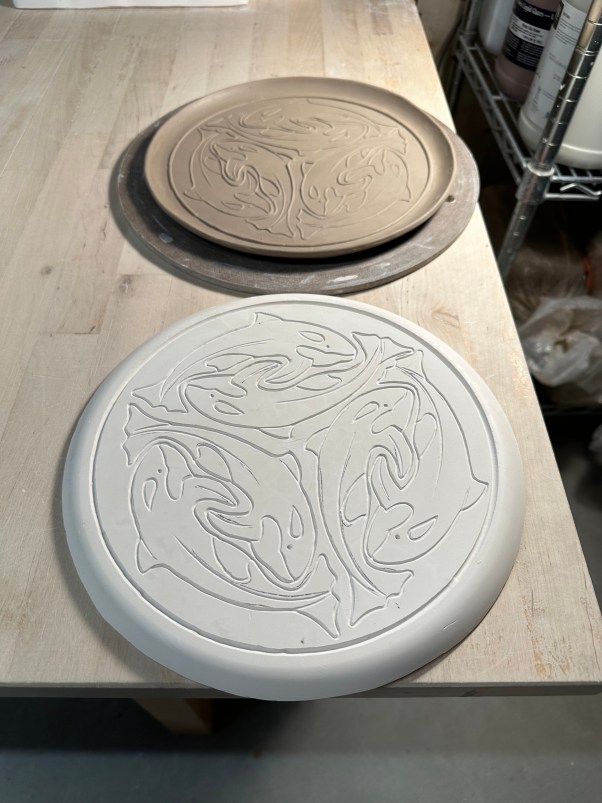
When I mix the plaster I tend to have a little left over. Rather than throw it away, I’ve been pouring the extra into inexpensive plastic plates I picked up at the grocery store. This results in nice, smooth plaster disks. I’ve been wanting to experiment with carving designs into them and this month I finally got around to doing one. I have a set of precision needle applicators and some new glazes that I can’t wait to play around with. 🙂
Update:
So here are the first glazing attempts. I have to say, I wasn’t very precise with my precision needle applicator bottles. Nevertheless, I think these are promising! There are things I like about each of them but I I’m not there yet. Looking forward to doing another round.


